Swedish Fire Log
The Swedish Fire Log, sometimes known as the Swedish Fire Torch or Canadian Candle has been around for centuries and yet is one tip every camper or hiker still needs to know today. It dates all the way back to the 30 Years’ War between 1618 and 1648. The war was fought in northern Europe and so the winters were cold. As a way of preserving firewood, the Swedish army found the optimal way for burning their wood to be standing on its edge.
Swedish soldiers needed something that would burn for long periods of time with little maintenance. And so was born the Swedish Fire Log.
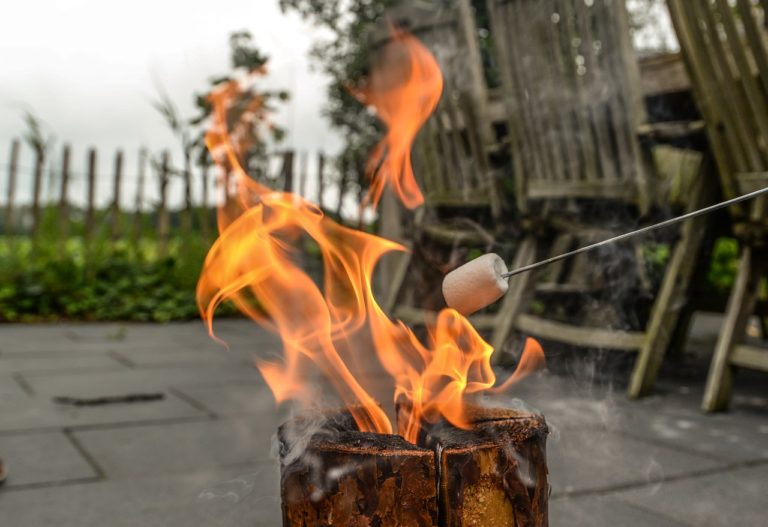
The source of fire they created was really quite brilliant. It provides an excellent source of heat and light. Plus it makes the perfect surface for cooking meals or boiling water.
But its efficiency really comes from the amount of wood needed to create this type of fire. Swedish Fire Logs heat source is produced from a single log standing on edge and burning from the inside outward. As a result of this process, they can usually burn for around two to four hours. That’s pretty impressive for a single piece of wood and definitely beats hauling arm loads of heavy firewood around the campground.
Swedish Fire Log Setup
The steps to making a Swedish Fire Log are quite simple, even if it’s your first time doing so.
Find Campfire Wood
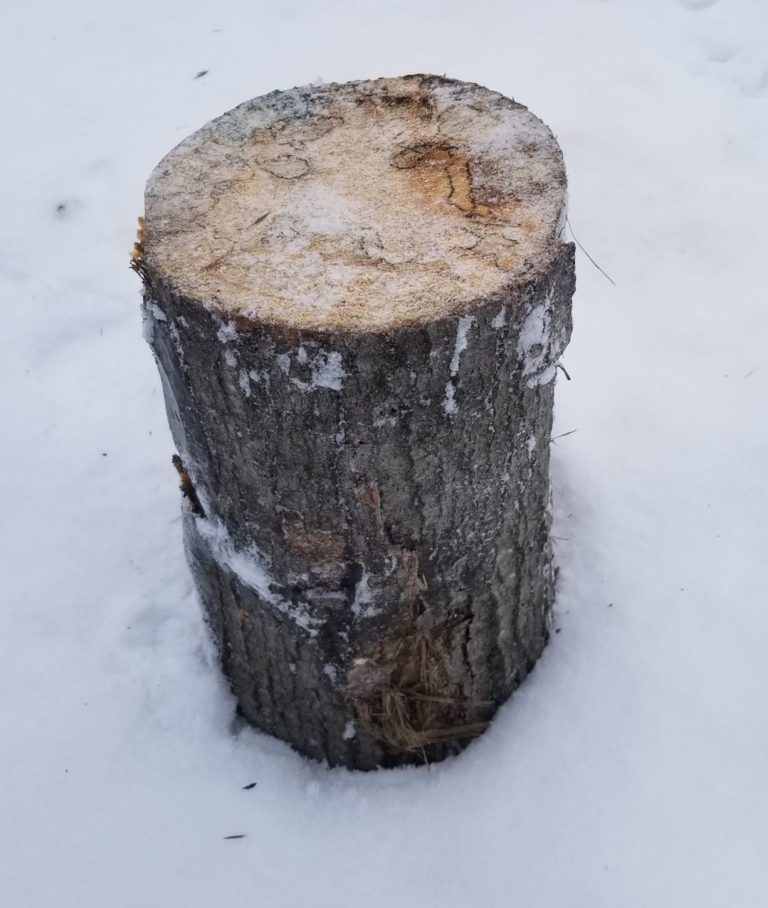
First things first. Find a dry piece of deadfall that is big and long enough to burn for your desired amount of time. Remember, soft woods will ignite easier than hardwoods, but will also burn faster and therefore won’t last as long.
Preparing the Log
Next, cut the logs ends so that they are square. This will ensure that the log will stand up straight.
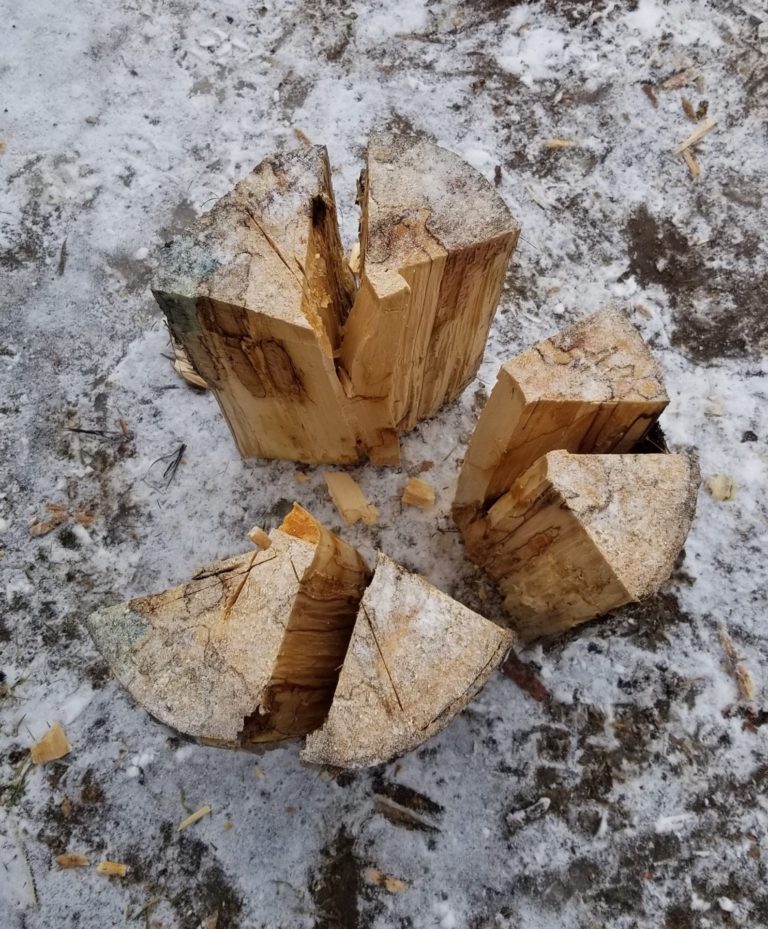
Now cut several slits into the log starting from the top and stopping within a couple of inches from the bottom of it. This can be done in several ways. A chainsaw or handsaw can be used to cut six to eight pie shaped pieces. Alternatively, an axe can be used to split the wood into those same shapes. It isn’t necessary for the pieces to be of equal size.
If you choose to split the log rather than cut it, it will be difficult to ensure that it doesn’t split all the way through. In the event that it does split into several pieces it can be secured back together similar to a puzzle. Wrap the log with string or wire to hold it in place and to prevent it from shifting or falling as it burns. It’s best to use wire to hold it together as string will eventually catch fire itself. If using string or twine, place it below the bottom half of the log and it won’t catch fire until the log has almost burned out.
Prepare the Inner Wood
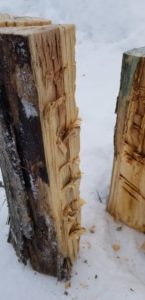
Next, rough up the inside of the wood pieces a bit, using a hatchet or knife. Try to create some thin shavings with rugged edges. This will allow embers to fall onto the small shavings and easily catch them ablaze to continue burning the log down.
This vastly improves the efficiency of the fire as it is essentially self feeding.
Place the Kindling
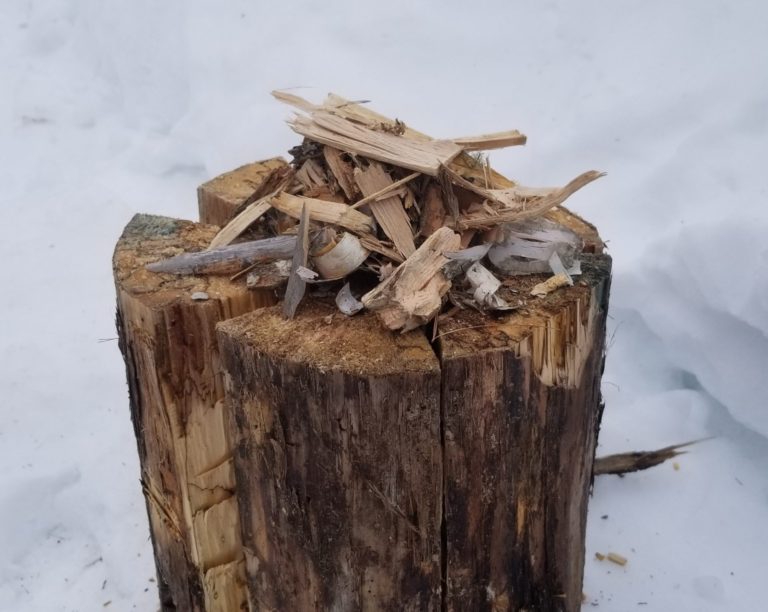
At this stage you’re ready for the tinder material. Place a pile of dry tinder such as wood shavings or birch bark on the center of the log and push down into the center by a couple of inches. Set it rather loose which will allow it to catch a flame easier. Put a small amount of kindling over top of the tinder material.
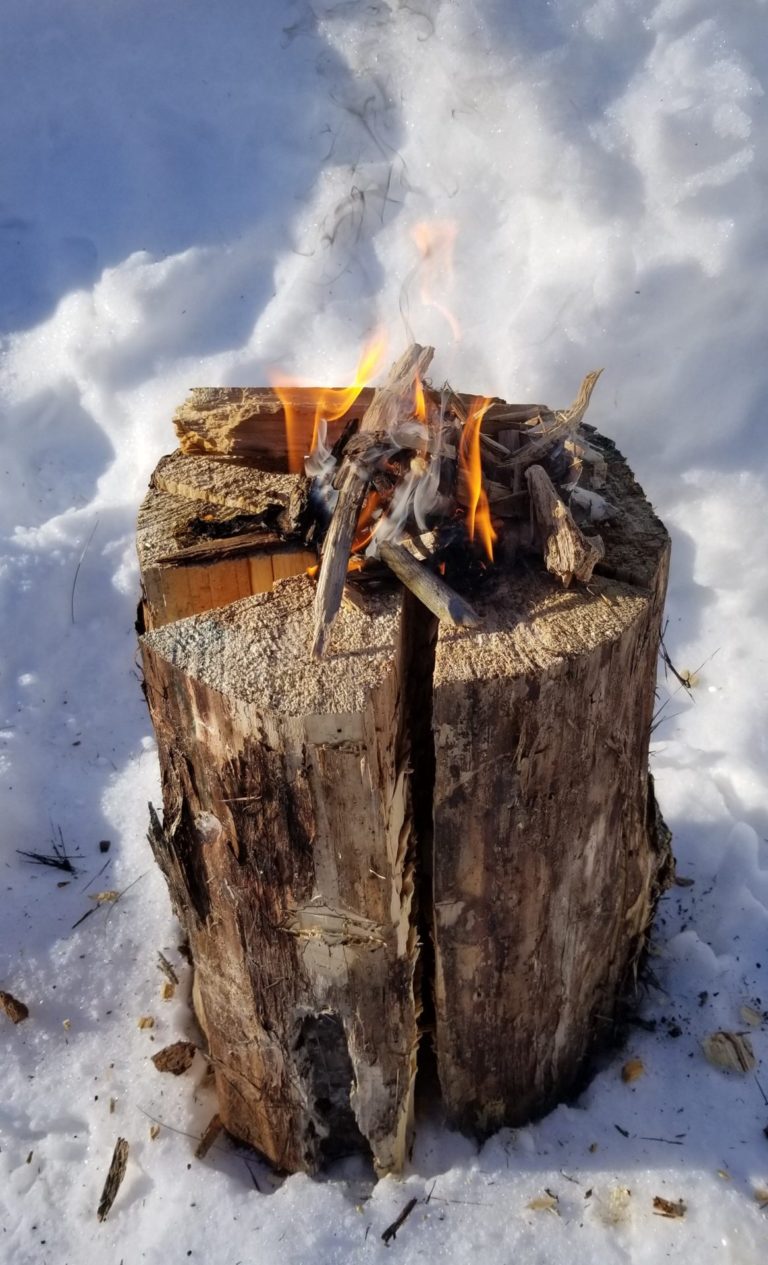
Now you can go ahead and light the tinder material which in turn will ignite the kindling. As the tinder and kindling burn, small embers will fall into the slits of the Swedish Fire Log, igniting first the roughed up pieces of wood and next the log itself. As air is drawn in from the bottom of the slits, the draft created fuels the fire to continue burning.
Before long, the fire will be creating enough heat to provide warmth as well as an excellent cooking surface.
Cooking
One of the main benefits of the Swedish Fire Log or Canadian Candle is that it’s great for cooking on. This is attributed to its flat top combined with the way in which it burns from the center outward. The log is nearly identical to a stove top heating element. This makes it perfect for setting a kettle, pot or frying pan on top for cooking.
Heat regulation is also attainable by raising the cooking surface away from the heat. Use wood shims or blocks to prop up your frying pan until it is far enough away and is achieving the amount of heat needed.
I can’t think of a better option for making a quick fire if you’re hiking or fishing for the day and need a small fire to cook lunch on and boil some tea or coffee. Once you’re finished, it is super easy to safely put out. You can simply pour water over the log and rest assured that no embers will be left smoldering.
Snow or Wet Ground
If you need to build a fire in an area with a lot of snow or wet ground after a heavy rain, the Swedish Fire Log allows you to start the fire elevated away from the ground. This makes getting a fire started much quicker and easier and will also serve to slowly dry out the ground around it as the log burns.
Log Size
A Swedish Fire can be made with any size of log, however the larger the diameter and length, the longer the fire will burn. Typically a good size to look for would be in the range of 18 to 24 inches in diameter and around 24 inches long. This will ensure that you have a solid source of heat for many hours as well as a large, flat surface with room for a frying pan or kettle.
When considering how long you would like the fire to burn you should also look at how dry and seasoned the wood is. The wood will need to be dry in order to burn efficiently, however if it is tinder dry it will likely burn much faster than you would like.
If you would like more information on picking the best wood for you campfire, check out this piece. It provides all sorts of tips on how to select campfire wood and the steps to building a campfire.

