The LifeStraw has been a game changer for hiking and camping enthusiasts around the world. Since 2005 it has provided clean, potable water to the millions of people that need it most. With proper care and cleaning of the LifeStraw you can extend its lifetime so it can provide years of clean water.
The LifeStraw changed the world
The introduction of the Personal LifeStraw in 2005 was actually a modification of an earlier filter designed to remove Guinea worm larva from drinking water. The whole product was geared toward providing safe and clean drinking water to the millions of people worldwide who otherwise did not have access to it. And the achievements of the Vestergaard Team has positively changed the lives of countless human beings ever since.
As the Personal LifeStraw continued gaining popularity over the next few years it saw a major rise in use by outdoor enthusiasts looking to shed some gear weight on backpacking excursions. Not having to carry pounds of water was a welcome revolution.
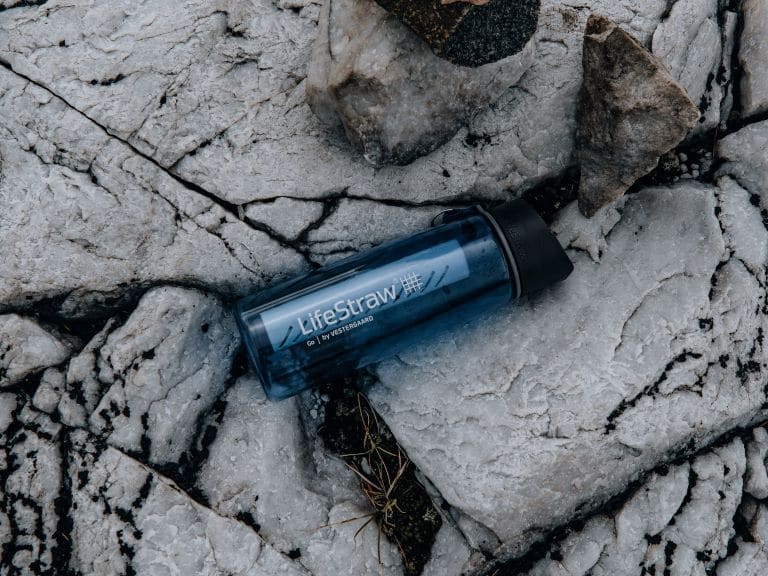
The company recognized the explosion in popularity and in 2013 introduced the LifeStraw Go. This refillable water bottle was the company’s first product geared toward the outdoor market. And it was no dud. Every backpacker, hiker and camper on the planet was lining up for one to replace the heavy load of bottled water with a simple filter.
Each LifeStraw filter has been rated for 1,000 liters of water. However, with proper care and cleaning it can remain effective beyond this limit.
There are three basic times when cleaning a LifeStraw is necessary:
- After use.
- If it becomes clogged.
- For long term storage.
Dependability is paramount when you are relying on your LifeStraw to provide all of the drinkable water you’ll need on a deep backwoods excursion. Every cleaning scenario comes with its own simple procedure to ensure that you’ll never have an unforeseen breakdown during your camping or hiking trip.
Cleaning a LifeStraw after use
To use a LifeStraw all you need to do is place the bottom end into the water source and start drinking from the top end. The water is forced through the hollow membrane filter inside the straw. This effectively removes 99.9999% of bacteria and 99.9% of protozoa down to 0.2 microns. It’s for these remarkable capabilities that you see people using the LifeStraw to drink directly from fresh water streams, lakes or even ponds.
To clean the LifeStraw between uses all you’ll need to do is blow the excess water out of it from the top down. Once water stops flowing out, you’re finished cleaning. Just pack it away until you’ve built up your next thirst.
Cleaning a clogged LifeStraw
If your LifeStraw becomes clogged it could spell disaster on a long camping trip where you’ve completely depended on it. Always make sure to test it out before heading out on a trip.
Clogging can occur due to several different reasons but is usually the result of either improper backwashing between uses or improper cleaning and long-term storage.
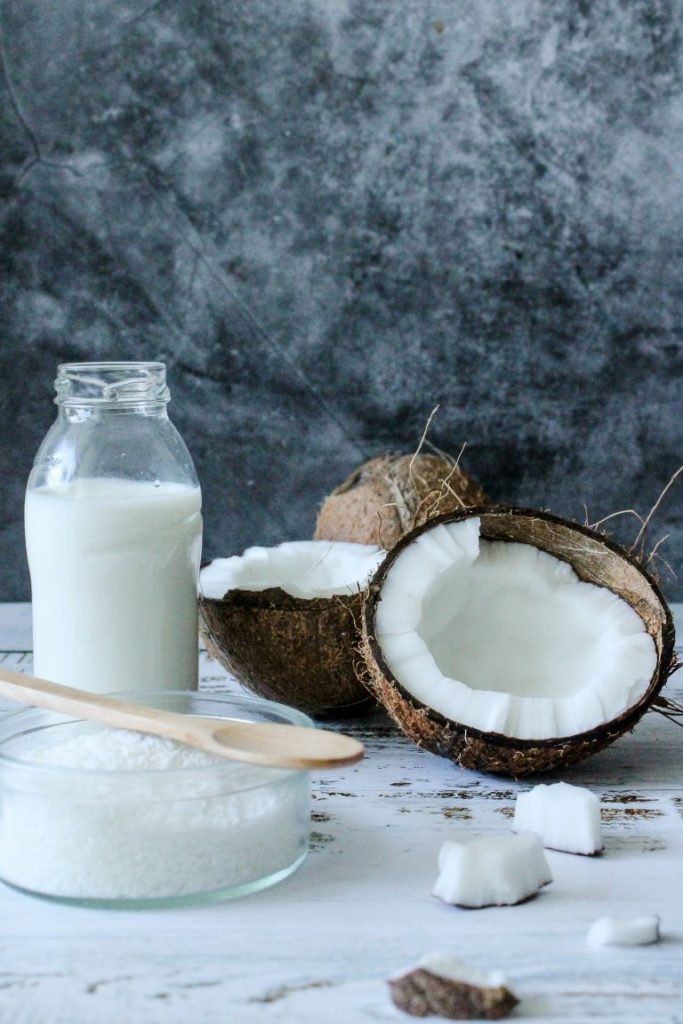
Luckily, if your LifeStraw hasn’t reached the end of its lifespan it shouldn’t be too difficult to unclog the filter. One of the best ways known to get those filter membranes lubricated again is with the use of coconut milk. This simple four step procedure should have you drinking clean water again in a splash.
- If your LifeStraw has a carbon filter, it will need to be removed at this time.
- Mix 4 tablespoons of coconut milk with approximately 2 cups of water in a tall glass or jar. Submerge the membrane microfilter or your LifeStraw Personal into the mixture and leave it for 1 hour.
- Remove the filter from the solution and rinse thoroughly. The water will appear milky at first. Keep rinsing until the water appears to be clear.
- Assemble and test. The LifeStraw should be back in working order at this time. If the flows still seem to be restricted, re-try these steps until you are satisfied that it is no longer clogged.
Cleaning a LifeStraw for long term storage
If you’ll be packing your LifeStraw away for more than a month, you’ll want to ensure that you’ve taken all of the necessary steps to keep it working the next time you pull it out.
Following these steps will provide your best chance at making it last beyond the 1,000 liter threshold:
- If your LifeStraw has a carbon filter, remove it at this time. Let it dry for half an hour and place it in a sealed plastic bag.
- Mix ¼ teaspoon of household bleach with two cups of water. If you prefer not to use bleach you can also use lemon juice or vinegar. For the LifeStraw Personal, pour the solution directly into the top of the straw and wait 5 minutes. For other types of LifeStraw where the filter has been removed, pour the solution into a jar and submerge the filter in the solution for 5 minutes. Remove the filter or pour out the solution and rinse thoroughly for approximately 1 minute.
- Dissolve 1 teaspoon of salt in 2 cups of water and pour solution into the LifeStraw Personal until full. Pour the remaining solution into a bottle or plastic baggy. Submerge the LifeStraw into the solution and open both end caps. For other LifeStraw types, fill the water bottle to the halfway point. Dissolve 1 teaspoon of salt in the water and assemble the LifeStraw. The filter will be submerged in the solution.
- Leaving the LifeStraw submerged in the salt water solution, store it in a cool dry location.
- When ready to use again, remove the filter from the saltwater solution and either blow or rinse it. It is now ready to use again. The first bit of water may taste salty. If that is the case you can either rinse again or spit out the first few drinks until the salt has been removed.
Following these steps to clean a LifeStraw will absolutely prolong its life cycle so you can enjoy clean, drinkable water on all of your hiking and camping adventures without the added weight of heavy bottled water.
Just as the LifeStraw has been heaven sent for backcountry campers and hikers, this easy campfire will also impress. Check out this post on making a Swedish Fire Log. All it takes is one block of wood and an axe.
We love writing about the things that make a real difference in your outdoor experience. Some of the links in this post are affiliate links in which case we may earn a small commission at no extra cost to you if you make a purchase. We truly appreciate you taking the time to read our content and hope it has added value to your next camping and outdoor adventure.